Joining Temu as a seller is a fantastic opportunity to showcase your products to a vast audience and expand your business. Temu provides sellers with an easy-to-use platform to manage listings, track sales, and engage with customers, making it a great choice for both new and established merchants. Here’s a detailed guide on how to register as a seller on Temu, from initial sign-up to getting your products ready for sale.
Why Register as a Seller on Temu?
Becoming a seller on Temu allows you to tap into a growing marketplace with millions of potential customers. Temu supports various product categories, from fashion to electronics and household goods, and offers sellers access to marketing tools, analytics, and customer service support. In this article, we’ll cover about create temu seller account, Here’s why it’s beneficial to register as a seller on Temu:
- Broad Customer Base: Temu global reach means your products can reach a wide audience.
- Marketing Support: Temu provides sellers with access to promotions, sales events, and advertising options.
- Data Insights: Sellers have access to insights and analytics to track sales performance and improve listings.
- User-Friendly Platform: Temu seller interface makes it easy to list products, manage orders, and handle customer service.
Step 1: Access the Temu Seller Registration Page
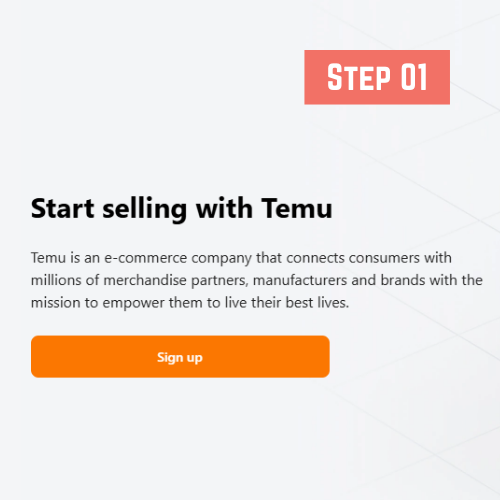
To start your journey as a seller, you’ll first need to access Temu official seller registration page. Here’s how:
- On Desktop: Open your web browser and navigate to Temu seller. Scroll to the bottom of the homepage and find the link that says Sell on Temu.
- On Mobile: You can also register as a seller using the mobile site, though using a desktop is usually more convenient for managing your account and inventory.
After locating the Sell on Temu link, click it to begin the registration process.
Step 2: Create a Seller Account
Once you’re on the seller registration page, follow these steps:

- Sign Up Form: Fill out the required fields, including your business name, contact information, and email address. Ensure your information is accurate since it will be used for verification.
- Choose Your Login Method: Similar to buyer accounts, you may have the option to sign up with an email, or you can potentially link to a social media account like Google or Facebook.
Click Submit to proceed. They will send a verification email to confirm your account, so be sure to check your inbox and click on the provided link.
Step 3: Verify Your Seller Account
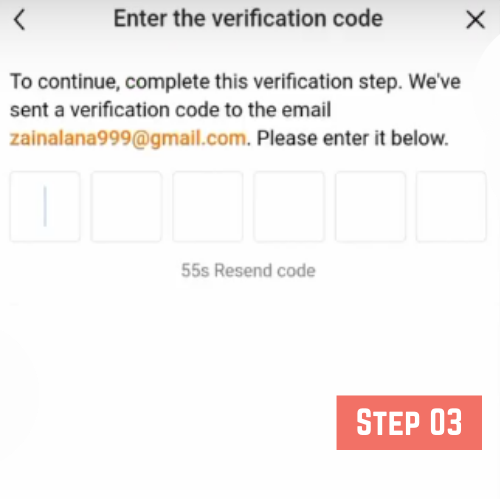
After completing the sign-up form, you’ll need to verify your email:
- Open your email inbox and locate the verification email from Temu.
- Click the verification link in the email to confirm your account.
- Once confirmed, you’ll be redirected to your Temu seller account dashboard.
Step 4: Complete Your Business Profile
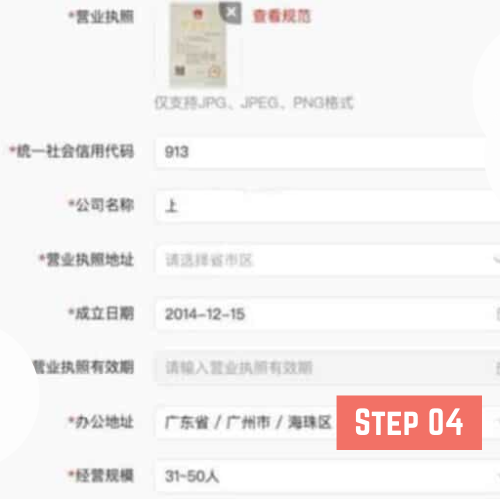
Your business profile is essential for building trust with customers and managing your Temu seller account. Here’s what you’ll need to add:
- Business Details: Provide your business’s legal name, address, and contact number.
- Tax Information: Temu may require certain tax information, such as an EIN (Employer Identification Number) if you’re based in the U.S., or a tax identification number for international sellers.
- Banking Details: Set up a bank account to receive payments. This step is critical for ensuring you get paid promptly after each sale.
Step 5: Upload Product Listings

Once your business profile is complete, you can start listing products. To upload listings:
- Product Details: For each item, add a clear and descriptive title, high-quality images, and a detailed description. Include product specifications, dimensions, materials, and other relevant details to help potential buyers make informed decisions.
- Pricing: Set a competitive price for each product. Temu marketplace has various pricing structures, so consider researching similar items on the platform to ensure you’re competitively priced.
- Categories and Tags: Properly categorize your products to ensure they reach the right audience. Tags can help enhance search visibility and are especially important on Temu, where customers rely heavily on search features to find products.
Step 6: Set Up Shipping and Return Policies

Shipping and returns are critical components of the selling process on Temu. To set up these policies:
- Shipping Options: Decide if you’ll offer standard shipping, expedited options, or free shipping for certain orders. Temu allows sellers to choose their own shipping partners or use Temu logistics service, if available.
- Return Policies: Clearly define your return policy. Decide if you’ll allow returns within a certain period, specify any fees, and detail the return process for customers.
Having clear and customer-friendly shipping and return policies can boost buyer confidence and lead to higher sales.
Step 7: Explore Apps Seller Tools and Resources

Temu provides various seller tools to help you succeed, including:
- Sales Analytics: Track your sales performance, view customer demographics, and identify trends. Temu analytics can help you improve listings and pricing strategies over time.
- Marketing Options: Sellers on Temu can participate in flash sales, seasonal promotions, and advertise their products to reach more customers.
- Customer Support: If you have questions or need assistance, Temu seller support team is available to help with account setup, product listings, and technical issues.
Step 8: Launch Your Store and Promote Your Products
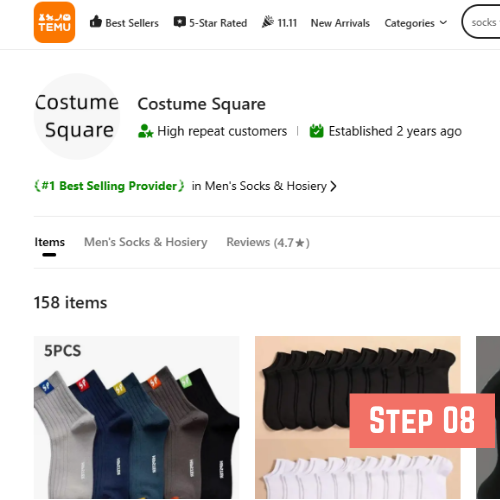
After setting up your Temu seller account and uploading your products, it’s time to go live. Here are a few final tips for a successful start:
- Optimize Listings: Double-check each listing for clarity, keyword optimization, and accuracy. Eye-catching images and clear descriptions attract more buyers.
- Promote Your Store: Use social media platforms like Facebook, Instagram, and LinkedIn to share your Temu store and attract traffic.
- Encourage Reviews: Encourage satisfied customers to leave reviews. Positive reviews on Temu help build credibility and increase your chances of repeat purchases.
Step 9: Manage Orders and Customer Communication
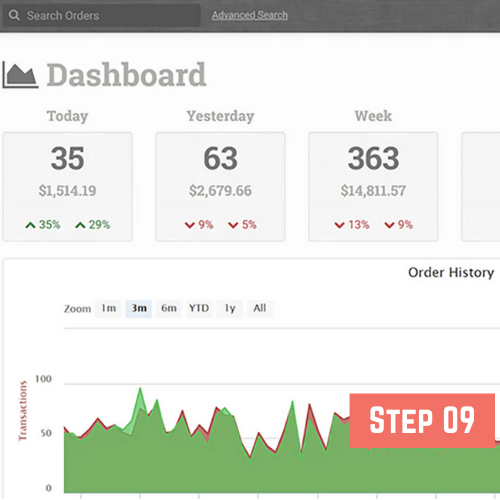
As sales start coming in, it’s essential to manage your orders and customer communication professionally:
- Order Processing: Ensure you’re fulfilling orders promptly, and communicate any delays with customers.
- Customer Communication: Timely responses to customer inquiries and post-purchase support are key to maintaining a good seller reputation on Temu.
Benefits of Selling on Temu
Selling on Temu brings several benefits that can help grow your business:
- Market Expansion: Temu’s broad user base offers an opportunity to reach customers from various demographics and locations.
- Low Barrier to Entry: Registering as a seller on Temu is free and straightforward, making it accessible for new and small businesses.
- Data Insights and Support: Access to valuable data insights, along with marketing and promotional support, enables sellers to optimize their business strategy and boost sales.
Final Thoughts on How to Register as a Seller on Temu
Registering as a seller on Temu can be the ideal step for business growth, providing access to a wide audience, useful seller tools, and reliable customer support. By following these steps on how to register as a seller on Temu, you’ll be well on your way to launching a successful store, promoting your products, and driving sales.
Take advantage of Temu’s resources, engage with customers professionally, and continuously improve your listings to make the most of this fast-growing marketplace.


